
A 6502 SBC: Working prototype
To mark my own use and knowledge of 40 years of the 6502, I decided to build my own little single board computer (SBC) based on it.
I had a few ideas in-mind – one was to make it a little faster than the old ones (but I really didn’t mind), one was to make it suitably “retro” and try to use the sorts of components available round about my target date – so this meant through hole components rather than surface mount. I also wanted to try to keep the hardware fairly simple.
My initial aim was for a stand-alone system with video output and keyboard input. Also a serial port for software download, blinkenlights, of-course and as much RAM as possible.
And then I hit a snag. Several, actually. The first one was that the old video controller chips are no-longer being made. Plenty on ebay, but… Next was the keyboard interface – but PS/2 type keyboards are easy to come-by and relatively easy to use. Memory, and ROM/EEPROM… The 6502 has a unique (that I’m aware of!) way of accessing memory – it only accesses it on half a clock cycle rather than use a full clock cycle. The effect of this is that you actually need memory that’s twice as fast as you might first imagine. So for a 1Mhz 6502, you might think that memory with a 1 microsecond access time is OK, however the reality is that you need 500ns (or better) memory. The current 6502 chips from Western Design Centre run at speeds up to 14Mhz, so we’re looking at 70ns or better RAM. The issue there is that chips like RAM chips are moving more and more to using surface mount technology which I was trying to avoid. Fortunately I found some suitable memory chips – 32KB x 8bits, so I just needed 2 of them.
(And yes, I did say current up there – The 6502 is still being manufactured and you can buy them brand spanking new!)
EEPROMs were an issue – these days they’re big – much bigger than I need, both physically and capacity wise. Not real issue as you don’t need to use all their capacity, however they’re also not as fast as I’d have liked, so this means either slowing the clock during access or introducing wait-states to the 6502. This adds complexity – and more TTL IC’s, so more to go wrong.
Retro?
At this point I had a look at what year I felt was right for my little SBC and settled on 1984. This was 6 years after the Apple II and 2 years after the BBC Micro. Programmable Logic Chips were in-use at that point – the BBC Micros (and others like the ZX Spectrum) used their fore-runner, the Ferranti ULA, so I felt that a PAL (actually a GAL – a reprogrammable PAL) might be appropriate.
I also looked at video, keyboard and thought about other peripherals like SPI and I2C an decided to build a system that had a separate IO processor to handle this – and I used an ATmega1284P. This generates the video, has a serial port and can interface to the 6502 using a shared memory system. This eliminated the EEPROM wait-state shenanigans as the system effectively became ROMless at that point – the ATmega poked the bootloader directly into the RAM of the 6502 and could control its reset line.
Plus modern..
The ATmega has about 50 times the transistor count of the 6502 runs faster, has more and getter IO, but sometimes you have to do something new to make something old work.
And in the best traditions of make it up as you go along, I started on breadboard – and this was the barely working prototype:
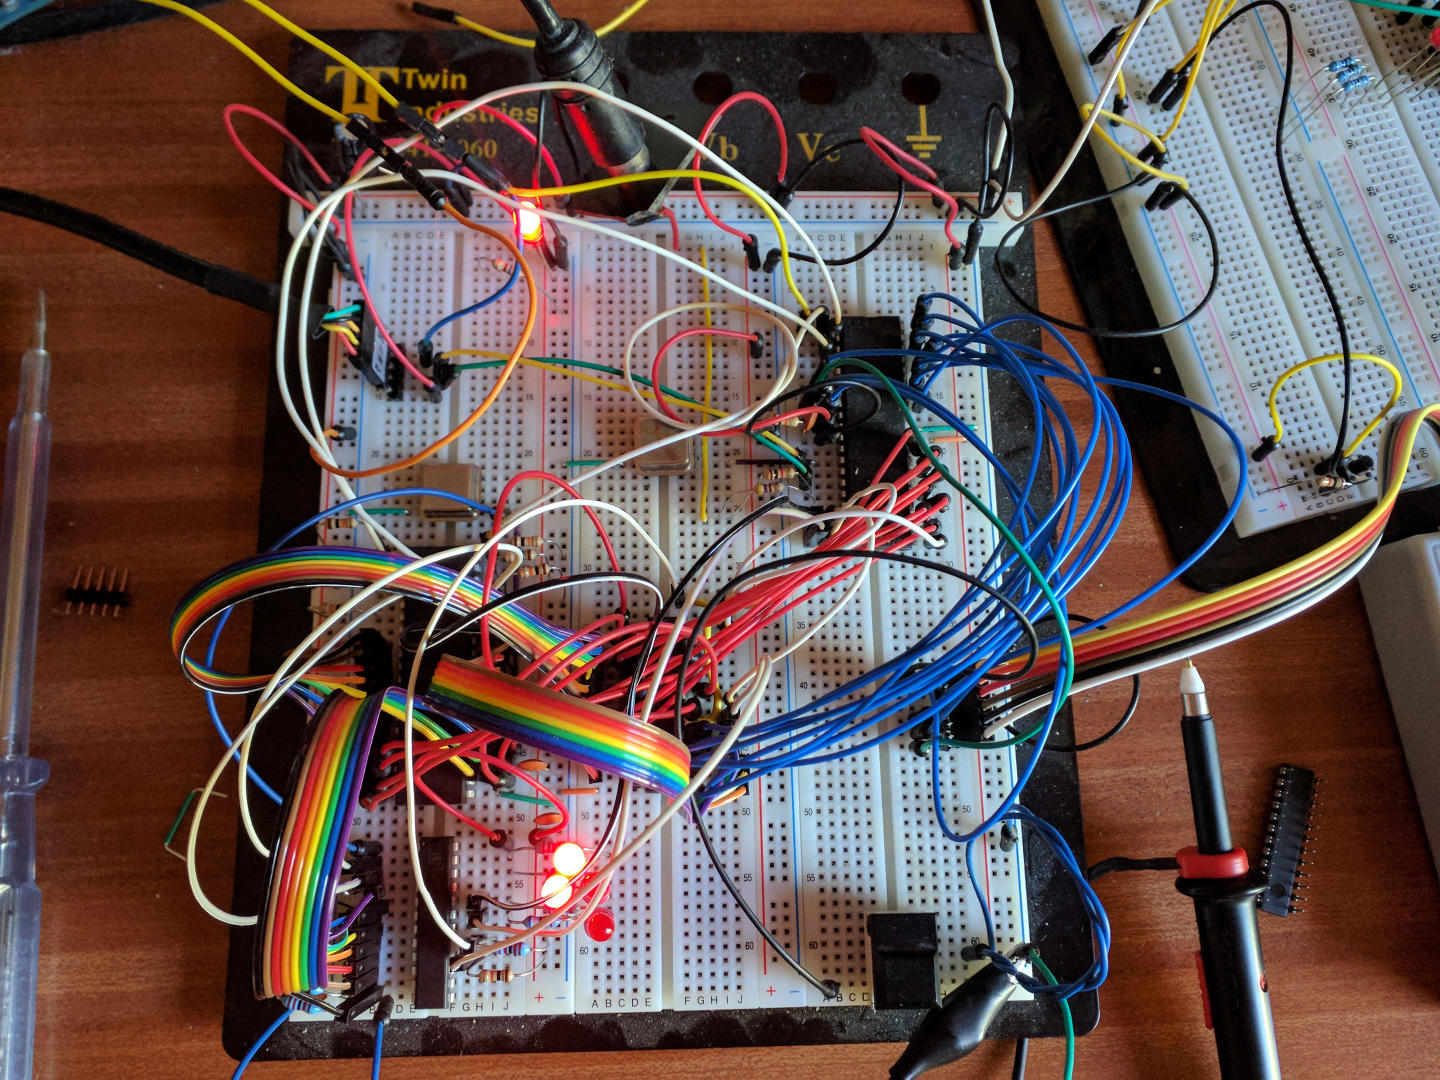
The ATmega is at the top-right. Middle of the board is 32KB of static RAM, to the left of that is the 6502 and under that is the Lattice 22v10 GAL. The LEDs are mostly for debugging – the are extra outputs from the GAL.
It was a bit unreliable – using ribbon cables (“jumper jerky”) isn’t the best as they tend to pull each other out but it did work and served to prove the concept that I was after. I ran some very small bits of 6502 code with that setup and wrote a lot of the ATmega code for the video and the shared memory interface to the 6502.
Although that worked, it wasn’t really reliable enough to enable me to do much with it, so the next step was to make something a little more sturdy and for that I went back to an old favourite of mine – stripboard, and more on that design in the next post…