PiFace abuse: Using Inputs as Outputs

Did you know that the 8 inputs on the PiFace can be used as outputs too? Well they can, and this is something that I understand the boffins in Manchester who designed it had in-mind too… So in-between barbecues this (UK) bank holiday weekend, I’ve had some fun and adapted something I did on the Gertboard to the PiFace – Driving a 6-digit 7-segment display.

Here it is:
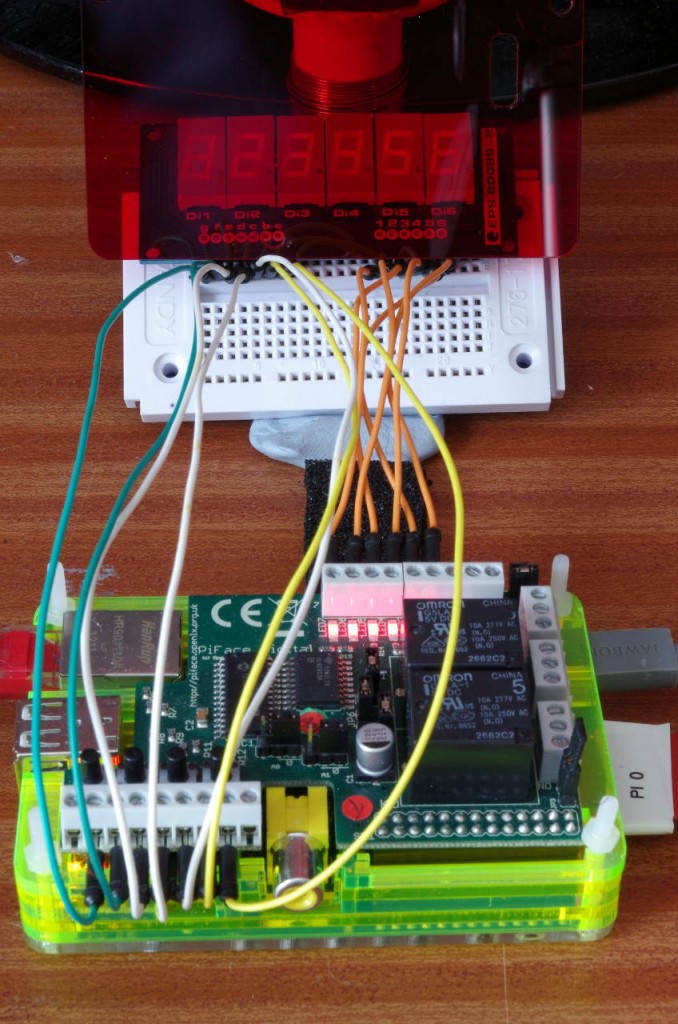
piface-ioYou can just make out the numbers 123456 on the LED digits at the top…

So how does it work: The Piface really is nothing more than an interface board with a standard SPI based GPIO expansion chip – the MCP23S17 which as 16 IO pins. 8 of these are connected to a ULN2803 open-collector buffer (darlington) chip – 8 of those 8 outputs go to on-board relays, the other 8 are uncommitted. On the input side – the 8 inputs pins go via 330Ω resistors to the terminals (and 4 buttons).

Pins 0-7 go to the ULN2803 and to the relays and output terminals and pins 8-15 go to the 330Ω resistors, the buttons and input terminals.

If we access the MCP23S17 directly, rather than use the wiringPi PiFace devLib for it, then we can re-provision the input pins as outputs and use them to drive things like LEDs.

(Well, not quite good enough for my display above – it’s over 25 years old, so old LEDs which have faded, and those old LEDs did need more current to drive them than the 330Ω resistors are allowing, but it’s the principle of the thing here!)

So how do we drive LED digits – easy here. We have 8 inputs which we’re using as outputs, so we can connect 7 to the 7 segments on the display and the common pin on each digit can go to one of the open collector drivers. To light up a single digit, we program the 7 segments as required, and enable the common line for that digit. Current flows out of the input pin, through the LED segments, and via the common pin for that segment into the open-collector driver on the PiFace and to ground.

To light up many digits, we repeat the above for each digit. ie

For each digit:

Set 7-segment pattern

Enable digit common-line

delay a short time

Disable digit common-line

This way, we can cycle through each of the 6 digits in-turn and if we do it fast enough then we don’t notice it happening (Look-up Persistence of vision)

We can illuminate all 7 segments at once, if required (e.g. to display an 8) as each one has it’s own limiting resistor and the “sink” pin goes via a darlington driver that can handle the combined current.

One thing to note here: This will only work with common-cathode type displays.

So there you have it – not quite “abuse” as it’s really by design, but something else to think about when using your PiFace board – if you need a 3.3v output and you have spate inputs, then re-provision one as an output and off you go.

Here’s the code for anyone interested:

/*
 * 7segments.c:
 *      PiFace "abuse". Use the inputs as outputs to drive a 7-segment
 *      LED display (common cathode) - connect the segments to the
 *      input pins, re-provisioned as outputs and use the darlington
 *      outputs as current sinks for each digit.
 *
 *      Copyright (c) 2013 Gordon Henderson
 ***********************************************************************
 */

#undef  PHOTO_HACK

#include <wiringPi.h>
#include <mcp23s17.h>

#include <stdio.h>
#include <time.h>
#include <ctype.h>
#include <string.h>

/*
 *  Segment mapping
 *
 *       --a--
 *      |     |
 *      f     b
 *      |     |
 *       --g--
 *      |     |
 *      e     c
 *      |     |
 *       --d--  p
 */

#define PF      200

// GPIO Pin Mapping

static int digits   [6] = {  PF+ 7, PF+ 6, PF+ 5, PF+ 4, PF+ 3, PF+ 2 } ;
static int segments [7] = {  PF+15, PF+14, PF+13, PF+12, PF+11, PF+10, PF+ 9 } ;

static const int segmentDigits [] =
{
// a  b  c  d  e  f  g     Segments

   1, 1, 1, 1, 1, 1, 0, // 0
   0, 1, 1, 0, 0, 0, 0, // 1
   1, 1, 0, 1, 1, 0, 1, // 2
   1, 1, 1, 1, 0, 0, 1, // 3
   0, 1, 1, 0, 0, 1, 1, // 4
   1, 0, 1, 1, 0, 1, 1, // 5
   1, 0, 1, 1, 1, 1, 1, // 6
   1, 1, 1, 0, 0, 0, 0, // 7
   1, 1, 1, 1, 1, 1, 1, // 8
   1, 1, 1, 1, 0, 1, 1, // 9
   1, 1, 1, 0, 1, 1, 1, // A
   0, 0, 1, 1, 1, 1, 1, // b
   1, 0, 0, 1, 1, 1, 0, // C
   0, 1, 1, 1, 1, 0, 1, // d
   1, 0, 0, 1, 1, 1, 1, // E
   1, 0, 0, 0, 1, 1, 1, // F
   0, 0, 0, 0, 0, 0, 0, // blank
} ;
 

// display:
//      A global variable which is written to by the main program and
//      read from by the thread that updates the display. Only the first
//      6 characters are used.

char display [8] ;


/*
 * displayDigits:
 *      This is our thread that's run concurrently with the main program.
 *      Essentially sit in a loop, parsing and displaying the data held in
 *      the "display" global.
 *********************************************************************************
 */

PI_THREAD (displayDigits)
{
  int digit, segment ;
  int index, d, segVal ;

  piHiPri (50) ;

  for (;;)
  {
    for (digit = 0 ; digit < 6 ; ++digit)
    {
      for (segment = 0 ; segment < 7 ; ++segment)
      {
        d = toupper (display [digit]) ;
        /**/ if ((d >= '0') && (d <= '9'))      // Digit
          index = d - '0' ;
        else if ((d >= 'A') && (d <= 'F'))      // Hex
          index = d - 'A' + 10 ;
        else
          index = 16 ;                          // Blank

        segVal = segmentDigits [index * 7 + segment] ;

        digitalWrite (segments [segment], segVal) ;
      }
      digitalWrite (digits [digit], 1) ;
      delay (20) ;
      digitalWrite (digits [digit], 0) ;
    }
  }
}


/*
 * setup:
 *      Initialise the hardware and start the thread
 *********************************************************************************
 */

void setup (void)
{
  int i, c ;

// 7 segments

  for (i = 0 ; i < 7 ; ++i)
    { digitalWrite (segments [i], 0) ; pinMode (segments [i], OUTPUT) ; }

// 6 digits

  for (i = 0 ; i < 6 ; ++i)
    { digitalWrite (digits [i], 0) ;   pinMode (digits [i],   OUTPUT) ; }

  strcpy (display, "      ") ;
  piThreadCreate (displayDigits) ;
  delay (10) ; // Just to make sure it's started

// Quick countdown LED test sort of thing

  c = 999999 ;
  for (i = 0 ; i < 10 ; ++i)
  {
    sprintf (display, "%06d", c) ;
    delay (400) ;
    c -= 111111 ;
  }

  strcpy (display, "      ") ;
  delay (400) ;

#ifdef PHOTO_HACK
  sprintf (display, "%s", "123456") ;
  for (;;)
    delay (1000) ;
#endif

}


/*
 * funTime:
 *      Jeremy Hillary Boob Ph.D. is a fictional character in the animated movie
 *      Yellow Submarine.
 *********************************************************************************
 */

void funTime (void)
{
  char *message = "      feedbeef      babe      cafe      b00b      " ;
  int i ;

  for (i = 0 ; i < strlen (message) - 4 ; ++i)
  {
    strncpy (display, &message [i], 6) ;
    delay (200) ;
  }
  delay (1000) ;
  for (i = 0 ; i < 3 ; ++i)
  {
    strcpy (display, "    ") ;
    delay (150) ;
    strcpy (display, " b00b ") ;
    delay (250) ;
  }
  delay (1000) ;
  strcpy (display, "      ") ;
  delay (1000) ;
}


/*
 *********************************************************************************
 * main:
 *      Let the fun begin
 *********************************************************************************
 */

int main (void)
{
  struct tm *t ;
  time_t     tim ;

  wiringPiSetup () ;
  mcp23s17Setup (200, 0, 0) ;

  setup   () ;
  funTime () ;

  tim = time (NULL) ;
  for (;;)
  {
    while (time (NULL) == tim)
      delay (5) ;

    tim = time (NULL) ;
    t   = localtime (&tim) ;

    sprintf (display, "%02d%02d%02d", t->tm_hour, t->tm_min, t->tm_sec) ;

    delay (500) ;
  }

  return 0 ;
}

Adafruit RGB LCD Plate with WiringPi

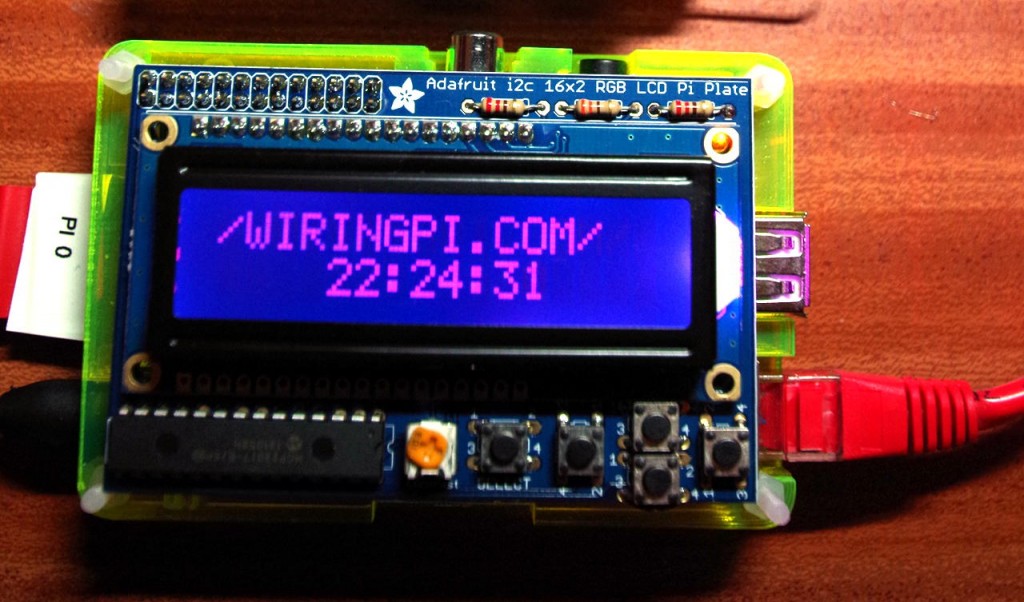
Part of my testing of wiringPi v2. was to make sure that some of the existing libraries code would work with GPIO expanders – and the Adafruit RGB LED Plate was an ideal candidate.

So I ordered one, took a few moments to solder it together and plugged it in – and 5 minutes later I had my LCD test program working without any real issues.

adaLcd

So if you want to drive one of these from C/C++ or anything else that uses wiringPi, then be assured that it’ll just work!

WiringPi v2 released…

After some months of testing and time away due to family issues, a short holiday and what-not, wiringPi v2 has been pushed to the GIT repository and is now released!

Additionally, it now has its own website: http://wiringpi.com/

Changes: 100′s. There is now a completely re-written internal structure that allows for analogRead() and analogWrite() functions (hardware permitting – e.g. on the Gertboard and other A/D converters). There is a mechanism for adding new GPIO hardware – e.g. MCP23x17 (both I2C & SPI variants) and much much more!

As usual, feedback is welcome – my plan is to run a forum on the wiringpi.com site  shortly, but for now I’ll allow comments on this post, or drop me email.

Sourdough with unbleached flour…

So as you may have read here, you might know I have a bit of a thing for baking… And so we had a little family “do” last weekend – my in-laws 50th wedding anniversary and we did an afternoon tea party for about 60 guests.

So as well as cakes, scones, and so on we needed sandwiches. Nice thinly sliced bread with the crusts cut-off, cucumber at the ready along with egg mayonnaise & cress, and so on.

Now I love baking bread, but that much bread, while perfectly possible for me to bake in a day or 2 is not possible to slice without a proper bread slicer – so in the past we’ve used local bakeries to supply the bread. This time we used Seeds2 in Totnes.

Darren there did us proud and supplied 11 loaves of varying type from white to seeded and granary. Knowing I like making my own bread, he also gave us a bag of the flour he uses – Stoats Organic unbleached strong white flour.

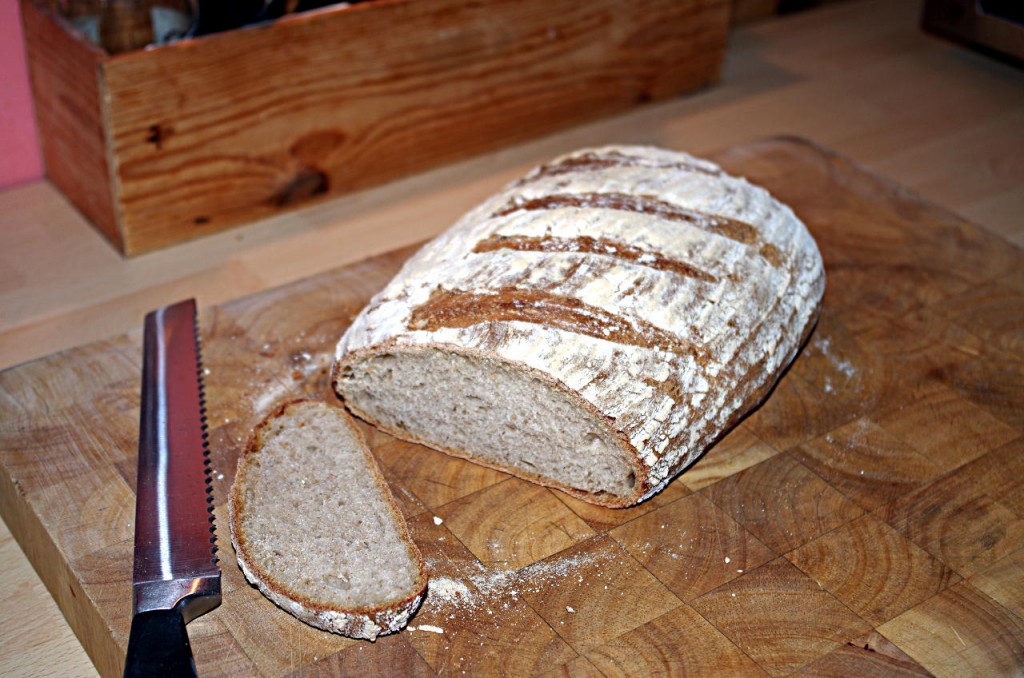
So I fed my sourdough starter with some and baked a loaf. Then baked another, and took some photos… The starter seems to like it – lots of activity there, and the bread rises a bit faster on it too! Possibly because most of the bread I usually make is a wholemeal flour mix, so giving it white flour with a bit more protein and gluten gave it a boost.

sourdough4Heres the latest loaf. The smell, texture/crumb and crust is all great. But the colour… That’s unbleached white flour for you! It’s a very pale yellow in the packet and It appears to darken slightly when cooking.

So wondering what they put into flour to make it white, I did some searching… Found this on Wikipedia http://en.wikipedia.org/wiki/Flour_bleaching_agent and a whole load of other things too.

A quick search for products return names like “White Glow” and “Super Glow”, and interestingly in 2011 China banned the use of flour whiteners! (Which doesn’t seem to stop online places like alibaba.com selling flour whiteners from China though)

So it seems there is fierce debate on the subject, but not everywhere! What would you do if you bought a load of bread made with white flour and cut into it and found that it was a pale yellow colour – perhaps verging on beige?

I think it’s quite brave of Seeds2 to sell unbleached white flour loaves, but at the same time, when we’re living in a society where we’re being more conscious of what we eat and how its produced, maybe they’re actually the leaders and showing us the way…

Me? I think I’m going to stick to using the wholemeal flours which I usually use, which aren’t bleached anyway, but for my cakes and biscuits? More experimentation may be required.

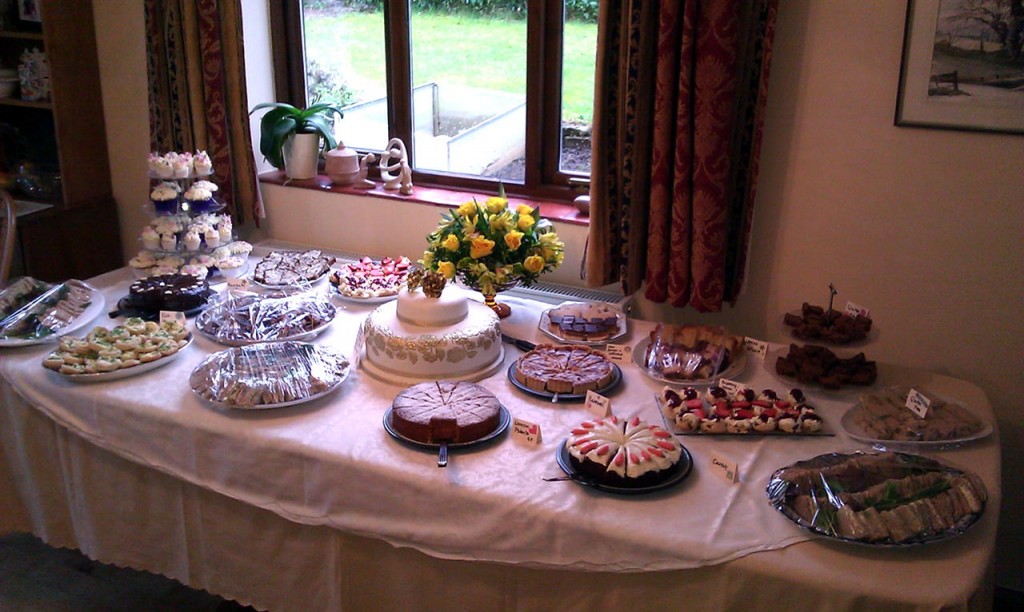
Oh, in-case you were wondering – this is what some of the spread looked like last weekend!

50thWell, some of it at least. There was the same again (and more!) in the kitchen which came out to top-up the platters through the afternoon.

Cheese Scones, Devon clotted cream and jam scones (jam on top!), carrot cake, polenta and almond cake (gluten free), rich chocolate cake, bakewell tart, millionaires shortbread and plain shortbreads, brownies, bara brith, a raspberry loaf, chocolate and ginger loaf, and a tower of cupcakes! (I didn’t do the big cake in the middle or the bara brith though!)

Bristol: Mini Maker Faire

So M-Shed in Bristol hosted Bristols first (mini) Maker Faire today, so a quick (well 2 hour!) trip up the A38 and M5 and myself and Rachel arrived in the morning to what initially looked like a somewhat chaotic bunch of random people setting things up…

We checked the talks timetable, booked ourselves into the first couple of talks and the afternoon one by Eben (or so we thought – more on that later!) then went for a coffee…

M-Shed is a pretty interesting place in its own right – a nice little museum exploring some of the history of Bristol, and as someone who lived in Bristol for a few years it was nice to have a look at some of the exhibits. It does warrant another trip too, it’s quite a nice little gem of a place. I left Bristol just over 10 years ago and all that area was just in the process of being re-developed at that time and the whole area looks quite good now too. (On both sides of the floating harbour!)

So the Maker Faire is basically just a bunch of folks showing off and hopefully trying to get others enthused into their projects – there are some commercial companies sponsoring the event and it was good to see Pimoroni – makers of the infamous Pibow case for the Raspberry Pi there and chat to the chaps, as well as a few other small companies selling components and embedded processor boards (e.g. PhoenoptixSoldersplash) as well as Element 14 and many others. (Sponsor list here)

There were also lots of enterprising individuals, and of-course lots of non-computer/electronics makers too! Bronze casting, knitting/weaving, pottery/clay work, soft-drink making – something for absolutely everyone.

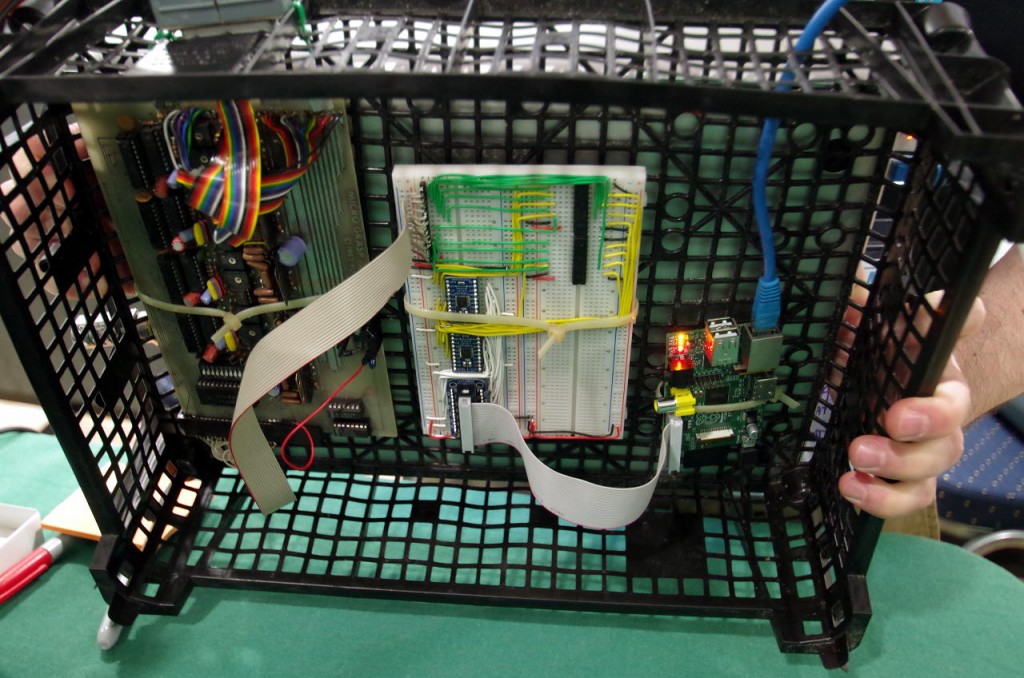
The Bristol Hackspace took up a lot of space in the middle and were demonstrating many varied and different projects – from old pen plotters to their BBC Micro connected to a Raspberry Pi sending & receiving tweets! Sometimes I wish I’d never left Bristol, but life’s just fine in Devon!

The talks we attended were very interesting too – Justin Quinnell’s pinhole cameras was a talk about long exposure (days. months, years!) using home-made pinhole cameras – something I absolutely must do! It was also very good to listen to Eben Upton and chat briefly to Liz after the talk too – although I’ve heard Ebens Raspberry Pi talk before, it’s always changing as new things happen, and always good to see what’s at the forefront in Raspberry Pi land!

One almost disappointment was that we were unaware that we had to register for the talks before-hand – it is on their website – in small print in the banner-ad area, so was overlooked, fortunately there was space, however when we went to “register” for the talks in the morning this wasn’t made aware to us at all. It actually seemed a little disorganised on the whole (certianly at 10am when we turned up when it was supposed to open!) However it didn’t distract from the enjoyment of the day. I suspect they got more than they bargianed for – which is good, as it means that hopefully Bristol will host another Maker Fair – it’s something that I really feel the South West needs to help bring like-minded people together.

Photos of the day – some even have captions…

kettleSome kettles blowing fire that make a little noise and heat, in-front of a kettle boiling water that moves things. (The firey ones from http://illuminarium.co.uk/)

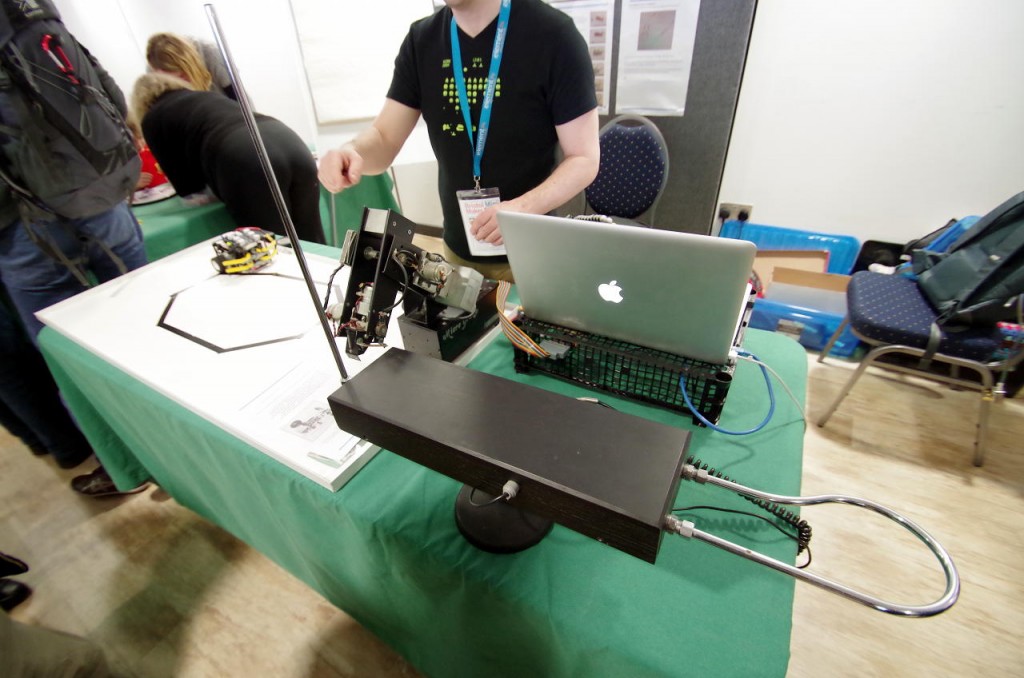
thereminThis is a Theremin being played badly by the little robot arm on the left…

thereminPiand this is the Raspberry Pi driving the robot that’s “playing” the theremin!

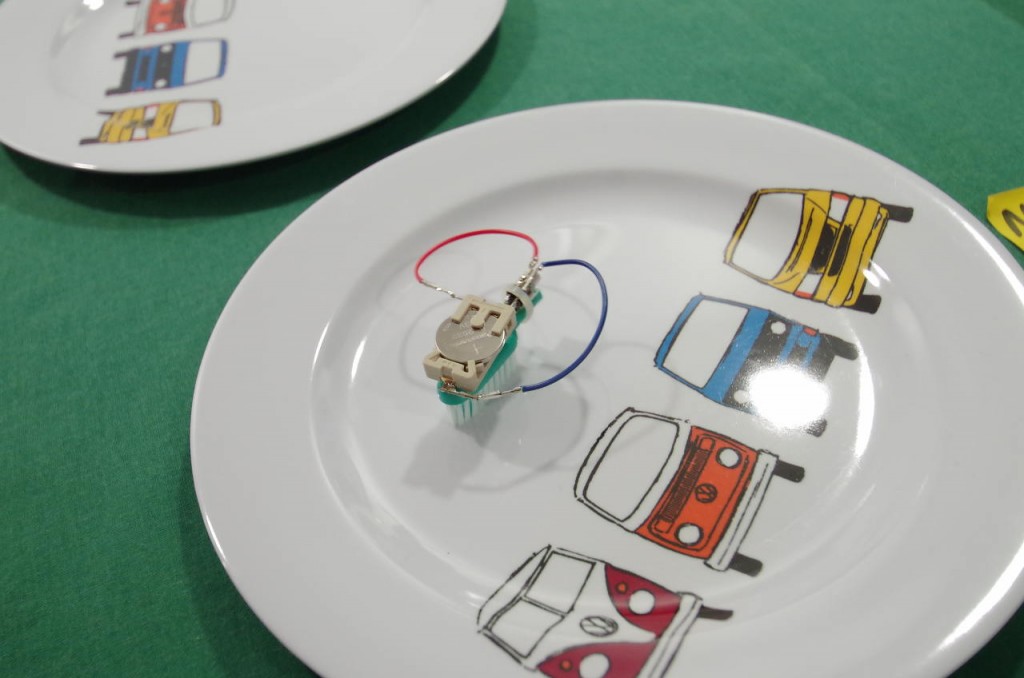
brushTake one toothbrush, one little vibration motor out of a mobile phone, a little battery holder and coin cell and put it on a plate… Bzzz…. and off it goes!
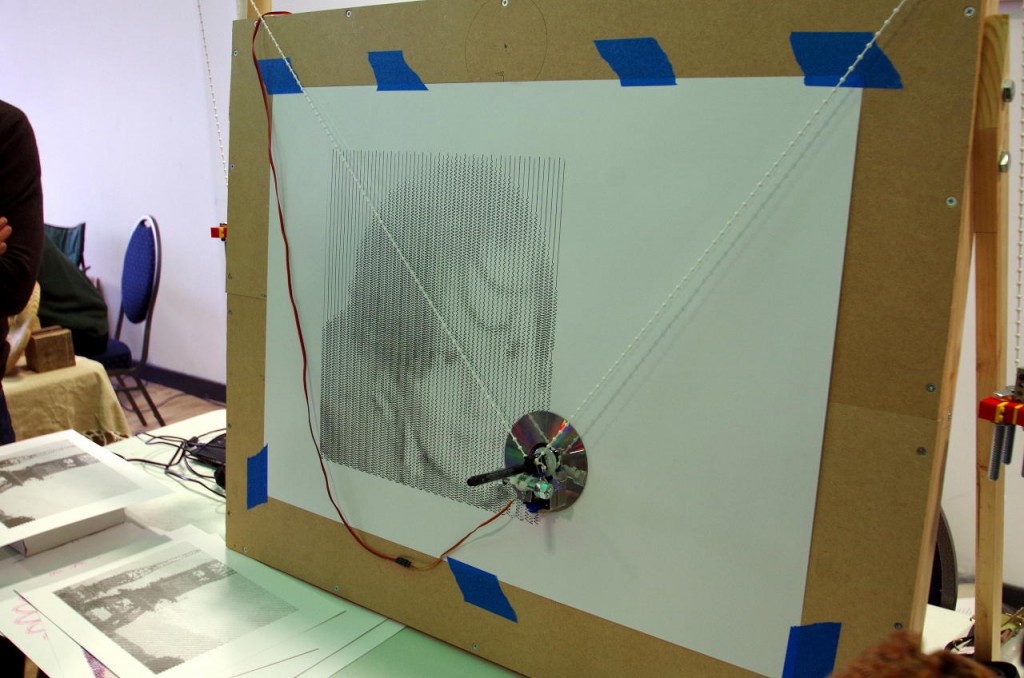
printer1Take an EggBot to bits. Rebuild it as this. Re-write the software and off you go (See: http://www.fastness.co.uk/)

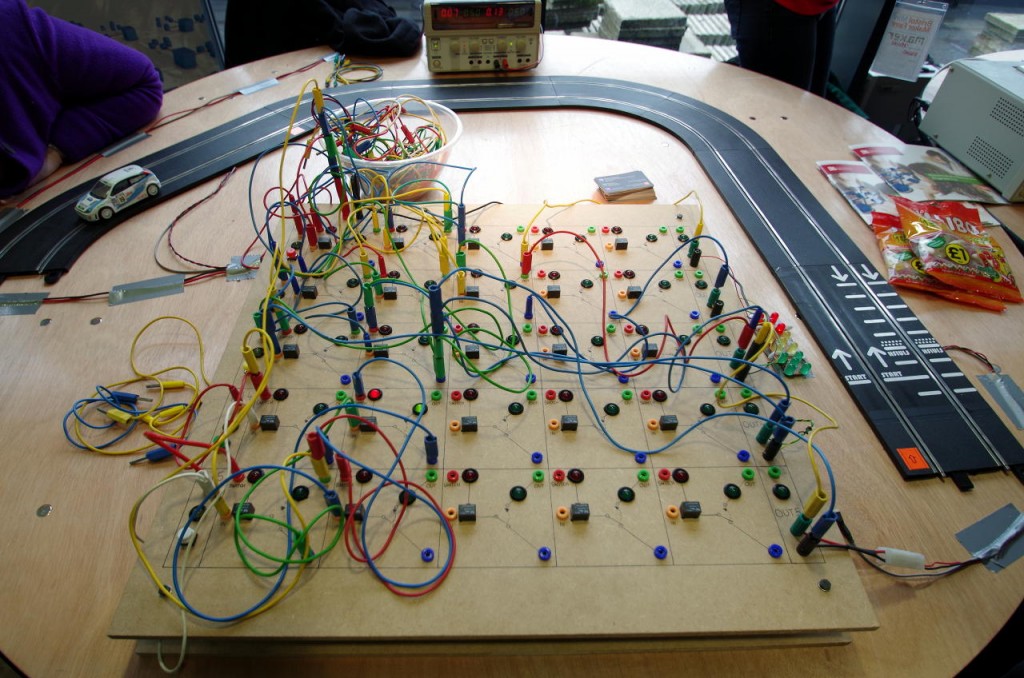
Take a relay with 4mm banana sockets and put some bulbs on it:

relayNow put many of them on a big board:

relaysand you get an excellent relay-logic board, capable of creating simple logic (and not so simple!) gates, with the ability to perform simple control tasks here. The top of the board is a switch to enable power to the track and turn power off before the car falls off the end. This was made by students as part of the Bristol Hack Kids project (as far as I can tell – please correct if I wrong!) part of the Bristol Hackspace.

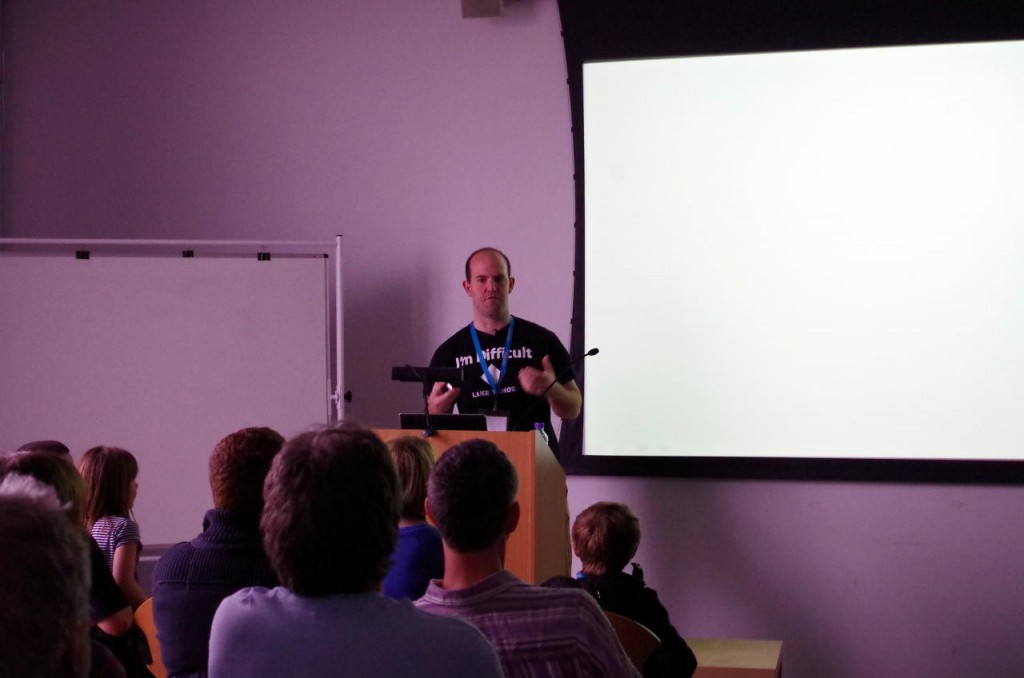
Finally, Eben doing his thing:

eben

There was much more going on too – trouble is, I don’t think to photograph stuff all the time, so you’ll just have to look at their website and find other peoples blogs!

So all in all, a grand day out and it does remind me that maybe I should go back up to Bristol more often!

The Game of Life

One of the talks at last weeks Raspberry Jamboree was by Amy Mather – 13 years old, talking about her implementation of Conways Game of Life on the Raspberry Pi.

Fantastic!

For many reasons – and I think it’s great to see todays young people get enthusiastic by some of this things that I myself got enthusiastic about when I started to learn about computers far too many years ago!

Back then I wrote a program in Applesoft BASIC and patiently watched it do generation after generation… taking about 15-20 seconds per generation too )-: And that was in low-resolution (40×40) graphics. High resolution just wasn’t a consideration unless you had all day to wait. Still faster than doing it on paper though!

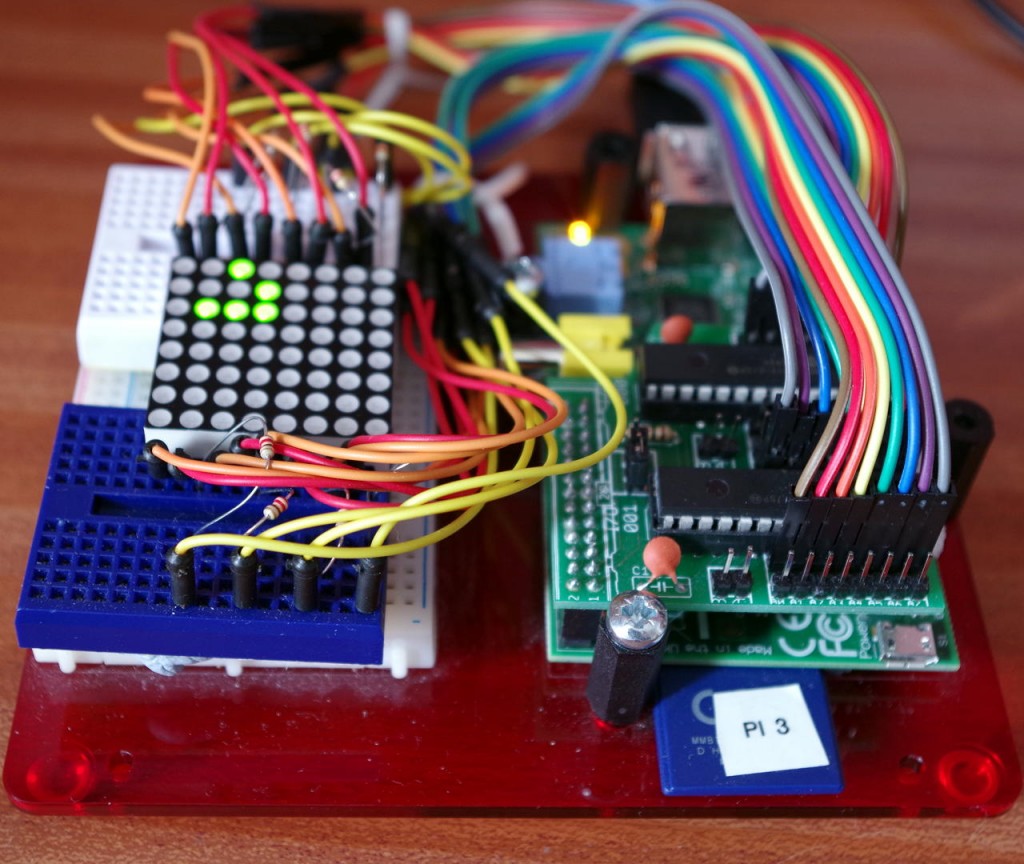
So in the past few days when I was testing some GPIO expander chips on the Raspberry Pi for the next release of WiringPi, I was a little stuck for something to test them with – then I remembered, John Jay sent me some MCP23017 expander chips on a board along with a red+green LED matrix board, so it seemed obvious – do the plumbing, use them to test the new version of wiringPi, then implement life on the 8×8 matrix.

life1That’s showing a glider, ready to launch…

So a big thanks to Amy for reminding me that computing needn’t be challenging and sometimes some of those things I did 35 years ago are still relevant (and fun) today! (ie. wasted too much time today on this already!)

Although I have to say, life on an 8×8 matrix is somewhat challenging – (I didn’t quite get a glider and a blinker going at the same time), but in these modern days of huge displays and fast processors it gives me something else to think about!

The Raspberry Jamboree

Alan O’Donohoe is  a man with not only a huge amount of energy, enthusiasm and full of all-round niceness (for a teacher 😉 ) but has been arranging Raspberry Jams since the early days of the Raspberry Pi. Recently he arranged a Raspberry Jamboree and stated this:

On Saturday 9th, I’m organising the first Raspberry Jamboree in Manchester, UK. The principle aim of this event is to allow teachers and educators to discover and share the potential of the Raspberry Pi computer for teaching Computing Science, Design & Technology etc. A secondary aim is to share the ingredients & recipe for an effective Raspberry Jam.  We will have many members of the Raspberry Pi foundation there as well as teachers & educators from across Europe.

Although I’m not directly involved in education (yet!) I attended the event and helped run one of the workshops (PiFace with Andrew Robinson and Mike Cook), and run a 15-minute Q&A session for my own wiringPi project too.

The event sold-out! Over 360 tickets were sold for the day and the place was buzzing with people – and not just teachers/educators but enthusiasts like me who are looking to help make a difference.

From my on point of view, I was able to meet up with lots of people I’ve met online via the forums, IRC, twitter and so on, exchange ideas and thoughts and generally just hang out! Did have some embarrassment by meeting people that know me from the forums, IRC, etc., but who gave me their real names rather than their online handles/aliases – see here for my thoughts on that…

Interesting people I met included Romilly Cocking from Quick2Wire, Chris Roffey from Coding Club, “Grumpy” Mike Cook, the chaps from Ciseco, Andrew Robinson of PiFace fame, and his colleagues/students. Simon Walters @cymplecy and his motley crew who were doing the Robotics talk, and many many others too – brain like a sieve though…

The event was sponsored by CPC who had a Pi Shop on-site and who I know also helped out Simon, Ben and Jason on their robotics presentation too with some hardware they needed.

Mike Cook was showing off some of his projects featured in his new book; Raspberry Pi For Dummies – which should be available soon. (And he’s not really grumpy in real life!)

So what did I get out of it? Well I learned that schools vary considerably in their levels of funding and general knowledge in the IT department – from schools that can buy dozens of iPads to schools that have 3 Raspberry Pi’s and can’t afford £60 for 3 PiFace boards… Also, I found that while some schools have very enthusiastic IT teachers, some simply don’t as “IT” has been nothing more than glorified word-processing for so-long, the very thing that the Raspberry Pi is supposed to address is almost in-danger of not being addressed due to the lack of suitably qualified people to teach IT!

Also from my 15-minute wiringPi session – thanks to all who attended! It was really useful to get your feedback – keep it coming, please email or otherwise contact me with suggestions and ideas. I really appreciate it. Installation seems to be a key issue, so I’ll be looking at providing a .deb package for Raspbian – I know there is already a package available for Arch, but things are changing quite rapidly right now. (Gentoo Linux users generally don’t have issues installing from source, so I’ll not wory too much from that perspective!)

It was quite a long day in the end – there was the obligatory pub and food session afterwards, so it was good to mix with the varied crowds that went out. I did manage to take a few photos, so I’ll just include them below here – see if you can spot yourself 😉

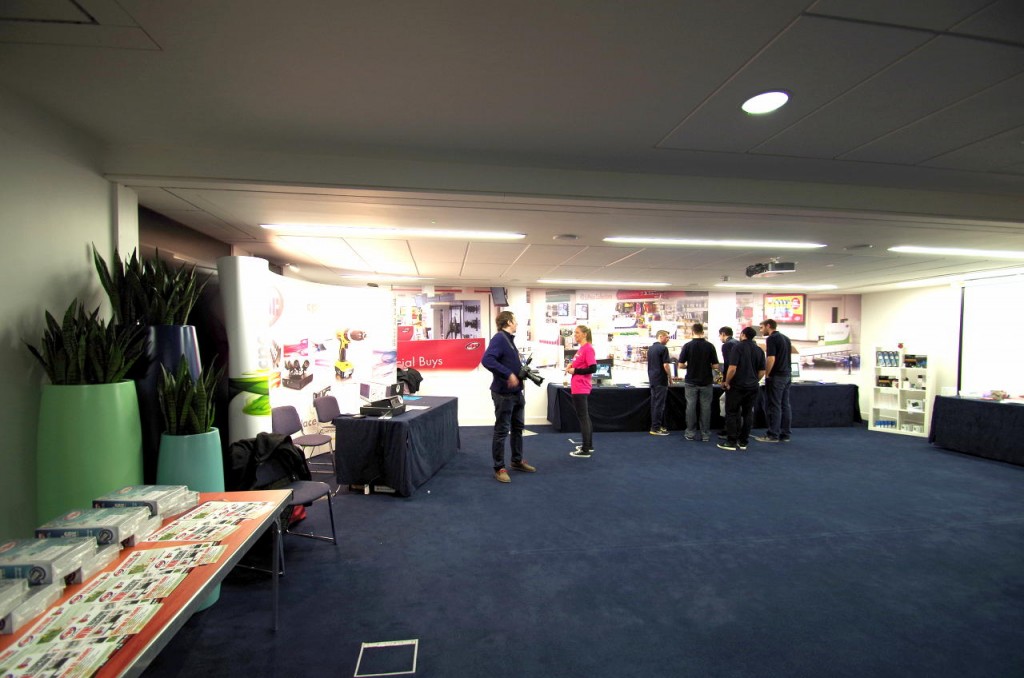
cpcStoreThe CPC Pi Store – very early in the morning before people really started to arrive – it was 5 deep in people through the day!

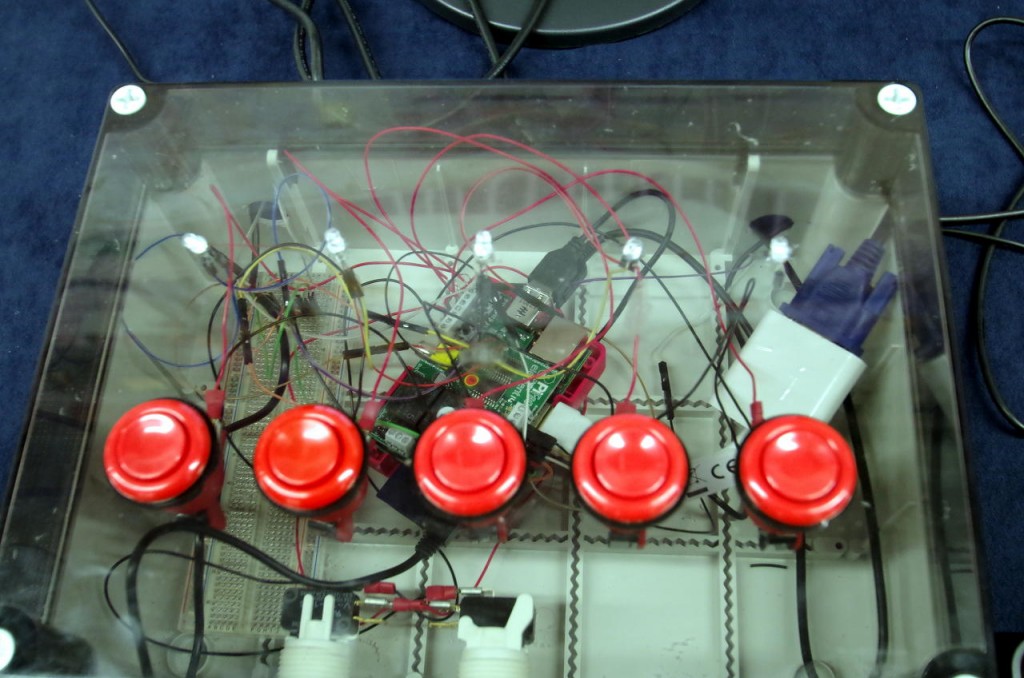
cpcGameA “Simon”/Memory game made by CPC on their stand. Yes, there’s a Pi with a PiFace on-top in there somewhere!

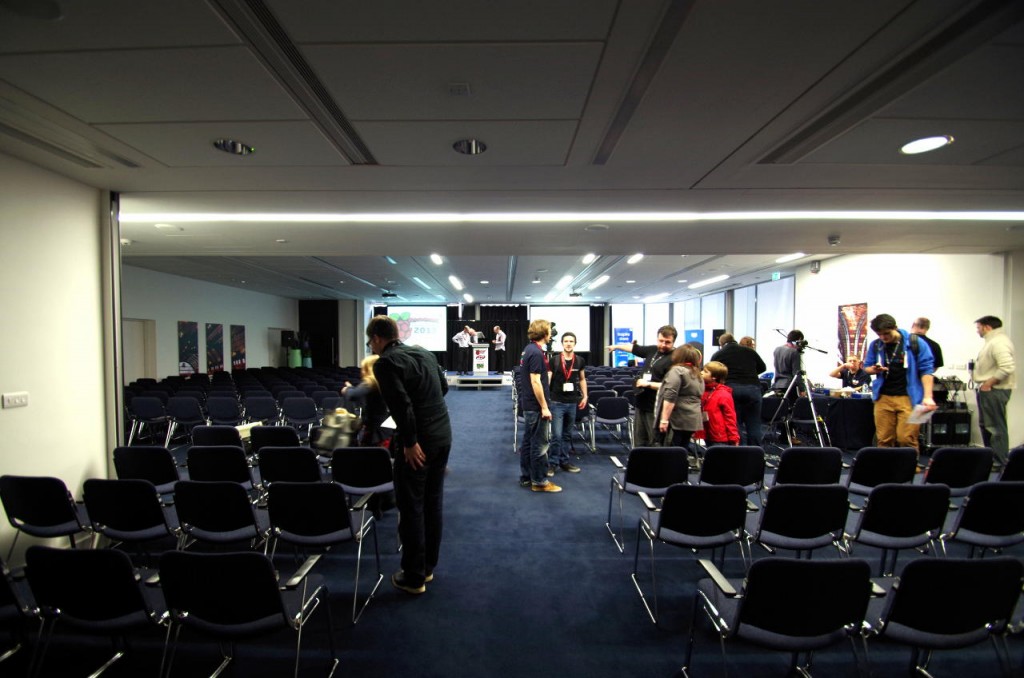
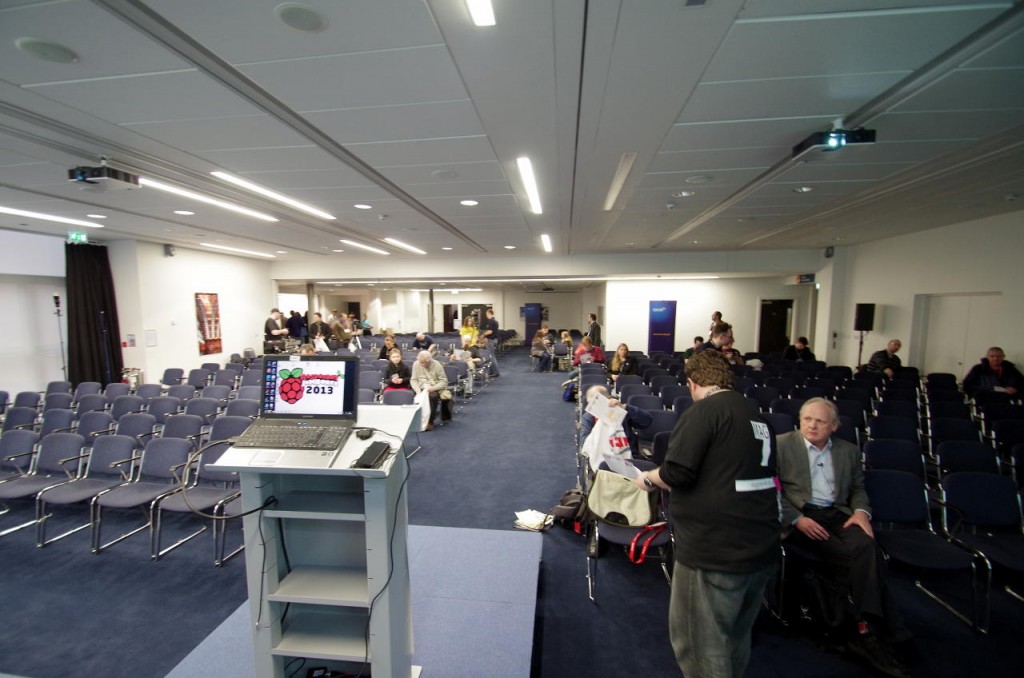
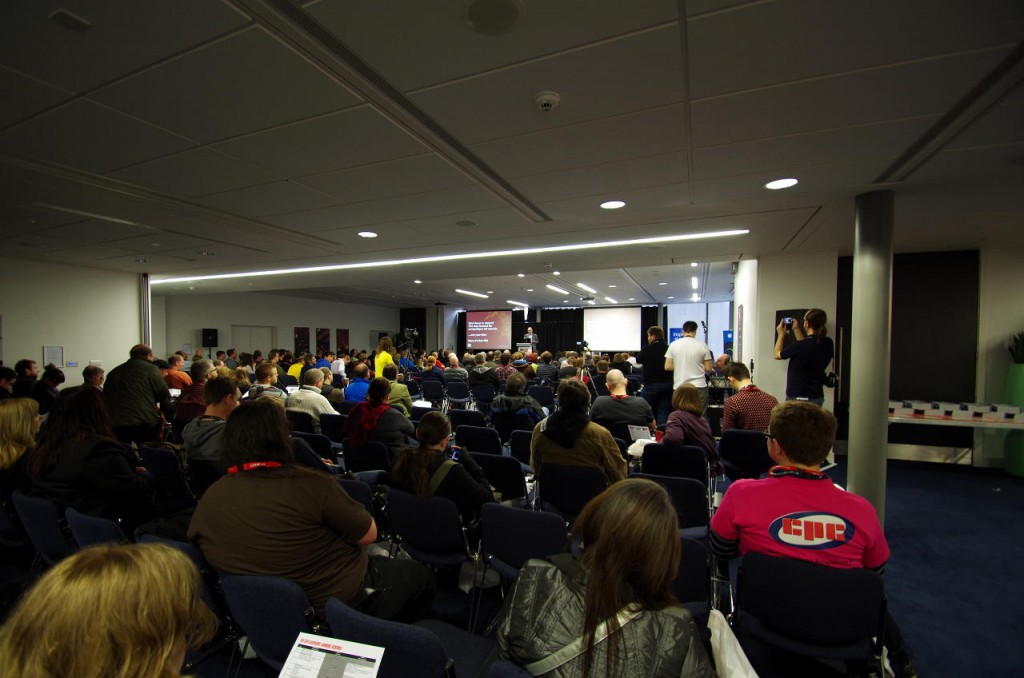
main1The main presentation room – looking from the back – again I got in early before most people started to arrive, so it’s a bit empty here!

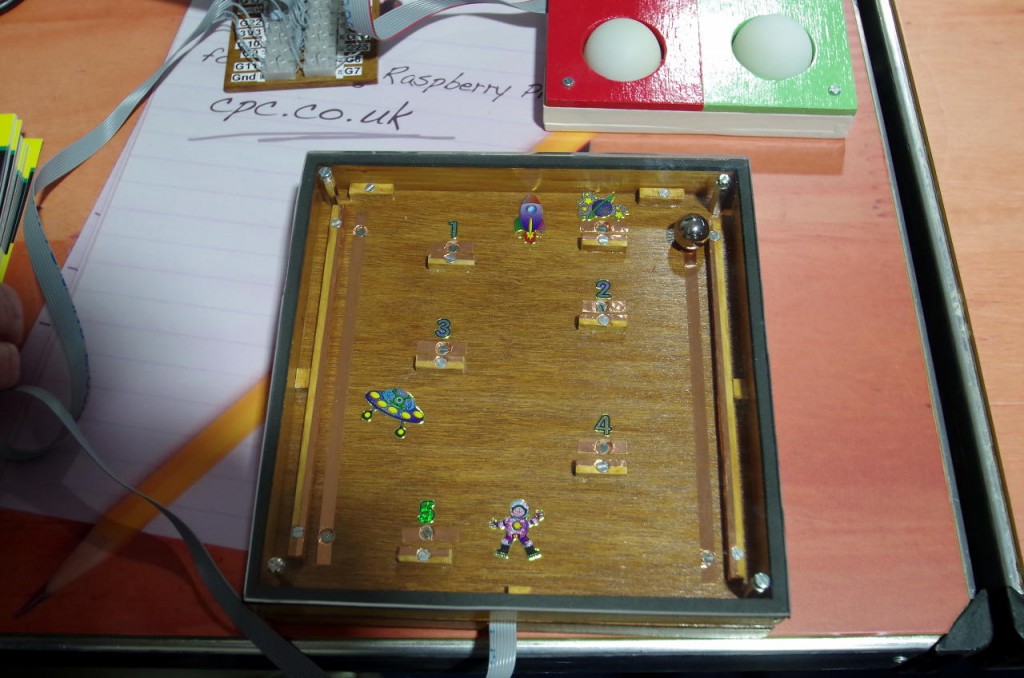
mikeCook1One of Mike Cooks projects for his book…

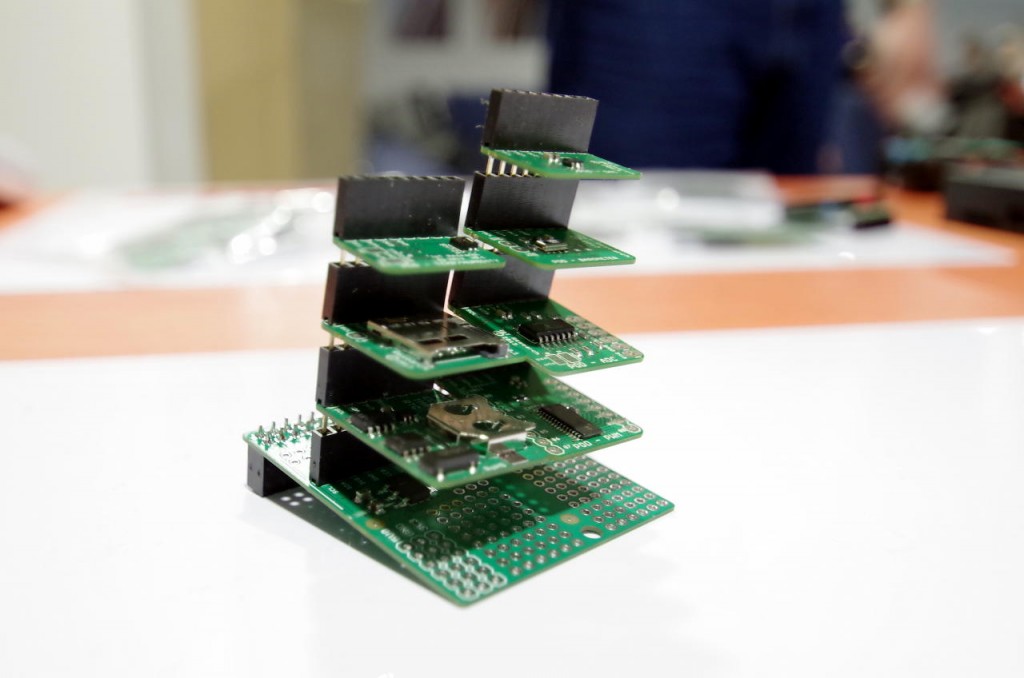
cisecoA “stack” of Ciseco interface boards for the Pi. The bottom one sits on-top of the Pi, and the rest just plug-in…

main2View from the stage – Prof. Steve Furber waits to give the keynote speech.

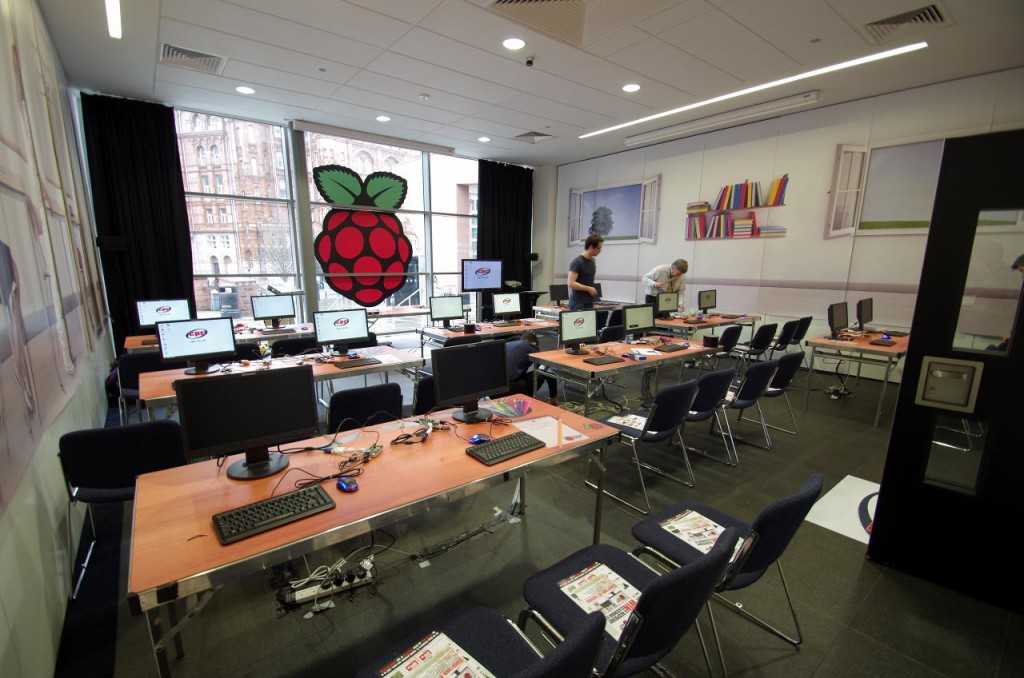
class1This is the class/demo room where the 45 minute training and demonstration sessions were held.

main3The main room filling up as Alan gives the introduction.

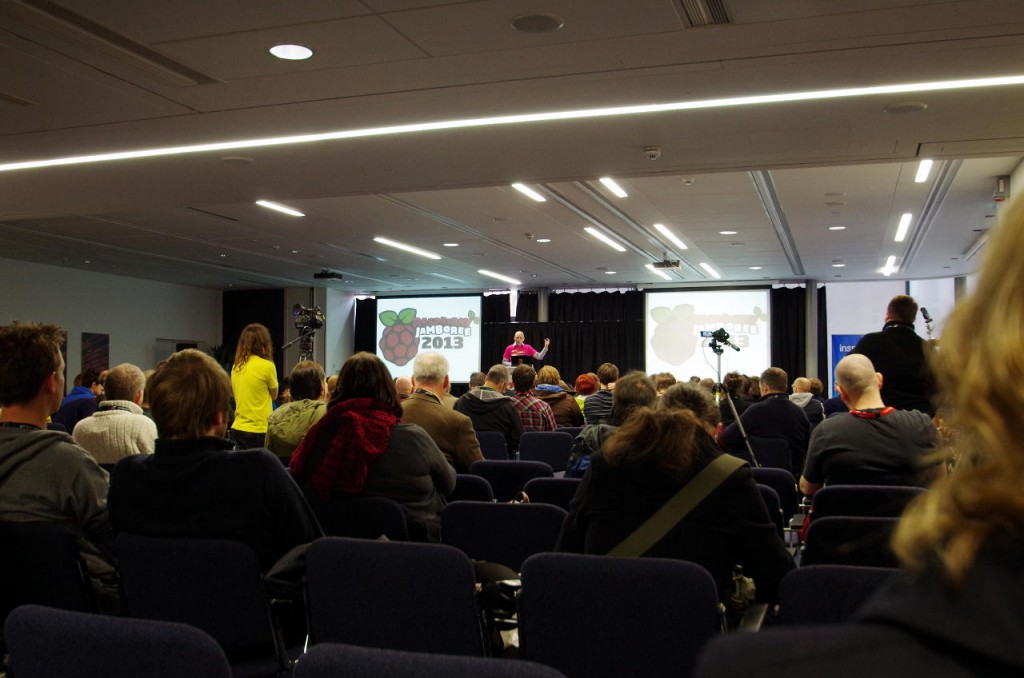
main4Prof. Steve Furber gives the keynote to a near-full room.

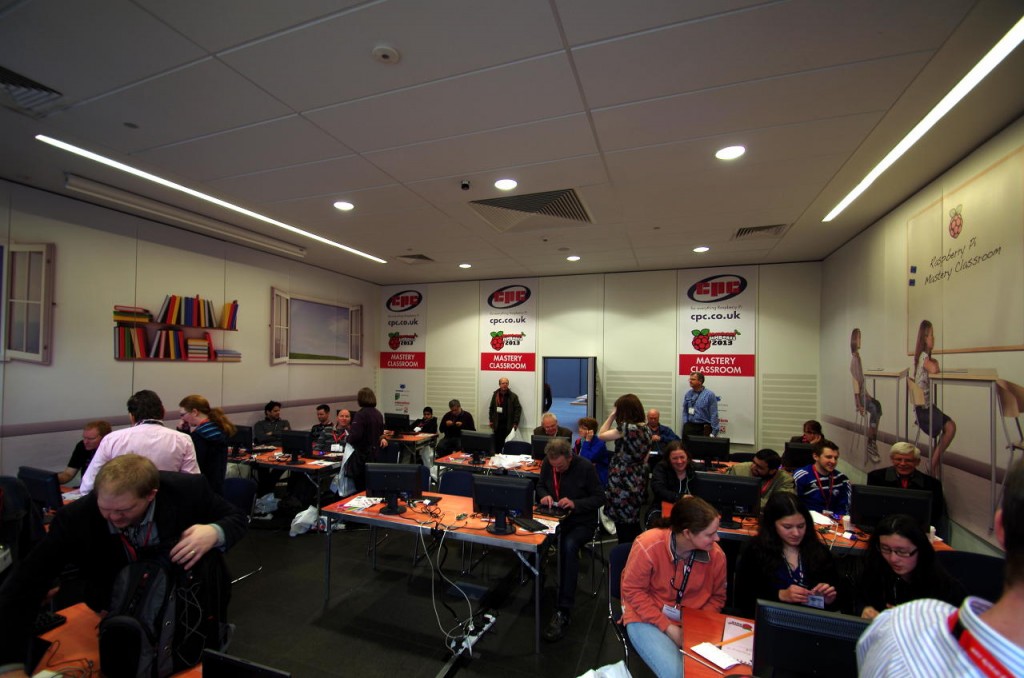
class2This is the main “classroom” starting to fill up for the PiFace demo.

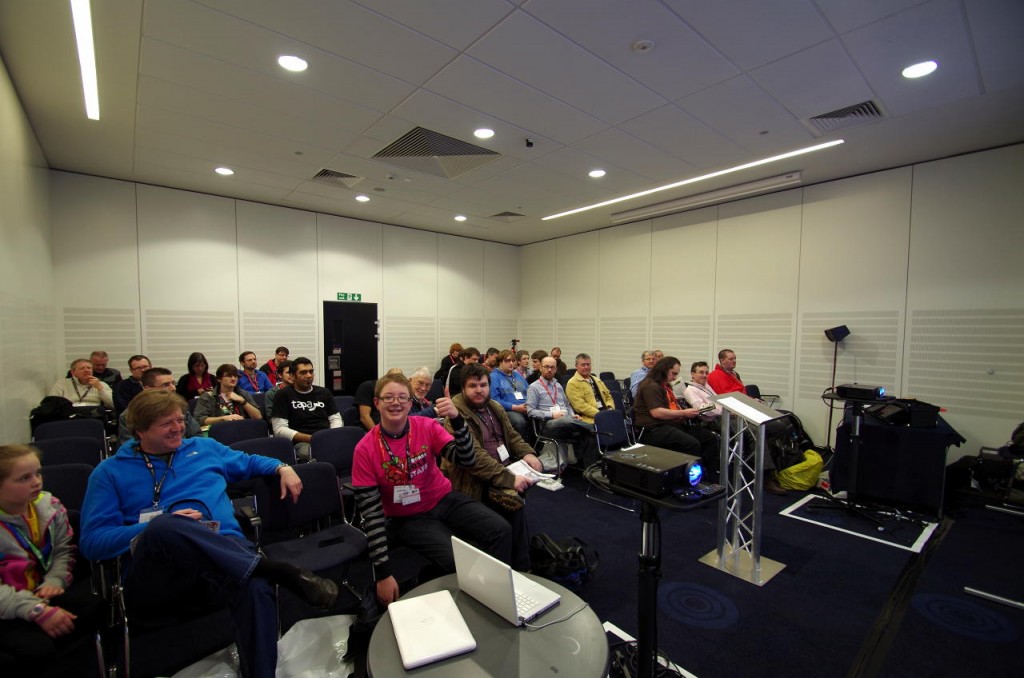
wiringPi-qaThe prople who attended my 15-minute wiringPi Q&A session.

beersAndRob and a “sampler” of the beers that the pub does… Careful – at least one of those is 18% ABV …

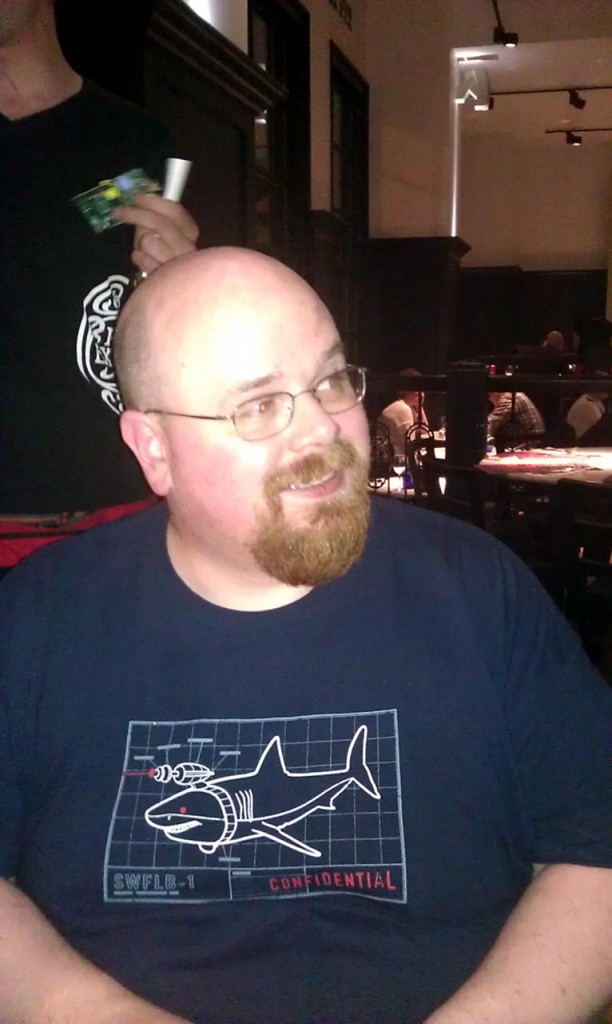
pimoroniThis is Paul Beech from Pimoroni. A very generous guy with a cool T shirt. Note the person in the background is the waiter at our table in Pizza Express holding his tip – strange to think of a Model A Raspberry Pi as a form of currency…

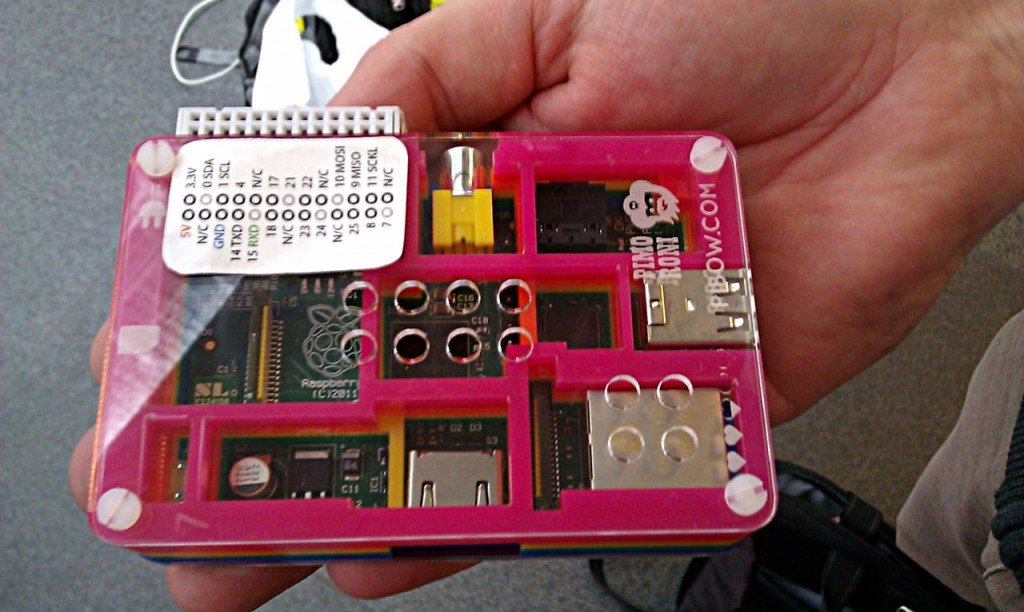
pinPinsNow this is interesting for a few reasons – one is that it’s a PiBow case (See Pimoroni!) and also note the GPIO “expansion”. It’s a a short piece of ribbon cable with 2 26-pin sockets on it. It fits over the Pi’s GPIO then fits snugly against the side of the PiBow case, presenting a set of sockets for the Pi’s GPIO – so if you have an investment in male to male jumpers – which you will have if you use Arduinos, then this is a way to use them with the Pi. Of-course the pins are now the other way round, but a simple sticker on the case solved that. This great idea is from Chris Roffey.

Handles or real names?

There has been some discussion recently (and probably for a very long time too) about the use of a handle or alias vs using your real name on forums, blogs, social networks, chat systems and so on…

Way back (20+ years ago) I used to go by a few handles online, but then I decided to start to use my real name – Or something close to it – I’m usually just Gordon, or Drogon (anagram, not that you wouldn’t have guessed!), or gordonDrogon or even my email address, so I’m now firmly in the real-name camp.

I don’t have issues with people using a handle or alias, but when interactive with people online, what I do like to see is a profile type page with hopefully their real name and (sometimes as important if giving advice for purchasing stuff) their location.

I think that putting your name to something gives it weight. It gives you more credibility than just being a somewhat anonymous entity.

I also have a terrible memory for faces, names, etc. )-: and it’s caused me great embarrassment in the past – and recently e.g. 2 nights ago at the Raspberry Pi Jamboree. (although a wee touch of alcohol never helps here either!)

During the Pi Jamboree I met many people – and saw their name tags, but no reference to their handles/aliases on the forums, IRC, etc. which was a great shame as there were one or 2 people I’d really have liked to talk more with, but not knowing who they really were was a real missed opportunity.

So a request: If we meet in real life, please let me know what your online handle or alias is! Write it onto your name badge if it’s at a conference, etc. Put up a profile page somewhere that give a bit more information about you and take more responsibility for what you post.

Raspberry Jamboree

Just a quick plug for the Raspberry Jamboree in Manchester this Saturday! Orginised by the ever energetic Alan O’Donohoe (Teacher &Jambassador)

I’ll be there for the day myself – on a stand with Andrew Robinson of PiFace fame (and it looks like “Grumpy” Mike Cook has been squeezed in there too. I’ve also booked a 15-minute wiringPi Q&A slot in the “CPC Pi Shop”

Please stop by and say hello! I might even have a ladder board or 2 to demo (& sell or even give away 😉 who knows!

4D Systems Display – on Arduino!

Just to show you that I don’t just do Raspberry Pi stuff…

4D system have produced a shield that allows you to connect the Intelligent displays up to the Arduinos serial port, so I’ve ported the Raspberry Pi VisiGeni driver to the Arduino…

There’s  few small limitations on the Arduino, but for the most part the calculator demo program you see running in the Arduino is the same as the one on the Raspberry Pi (it needs to be “Arduinoised” to use the Arduino sketch setup() and loop() mechanisms, but that’s all – there’s also a feature of Arduino that makes for an intereting time printing floating point numbers, but a minor detail here!)